Building a big MagicMirror with metal frame – The Mirror

The Mirror

The “magic” of this project is made by a semi-transparent mirror. When one side of the mirror is brighter than the other it behaves like a window. Otherwise it’s a regular mirror.

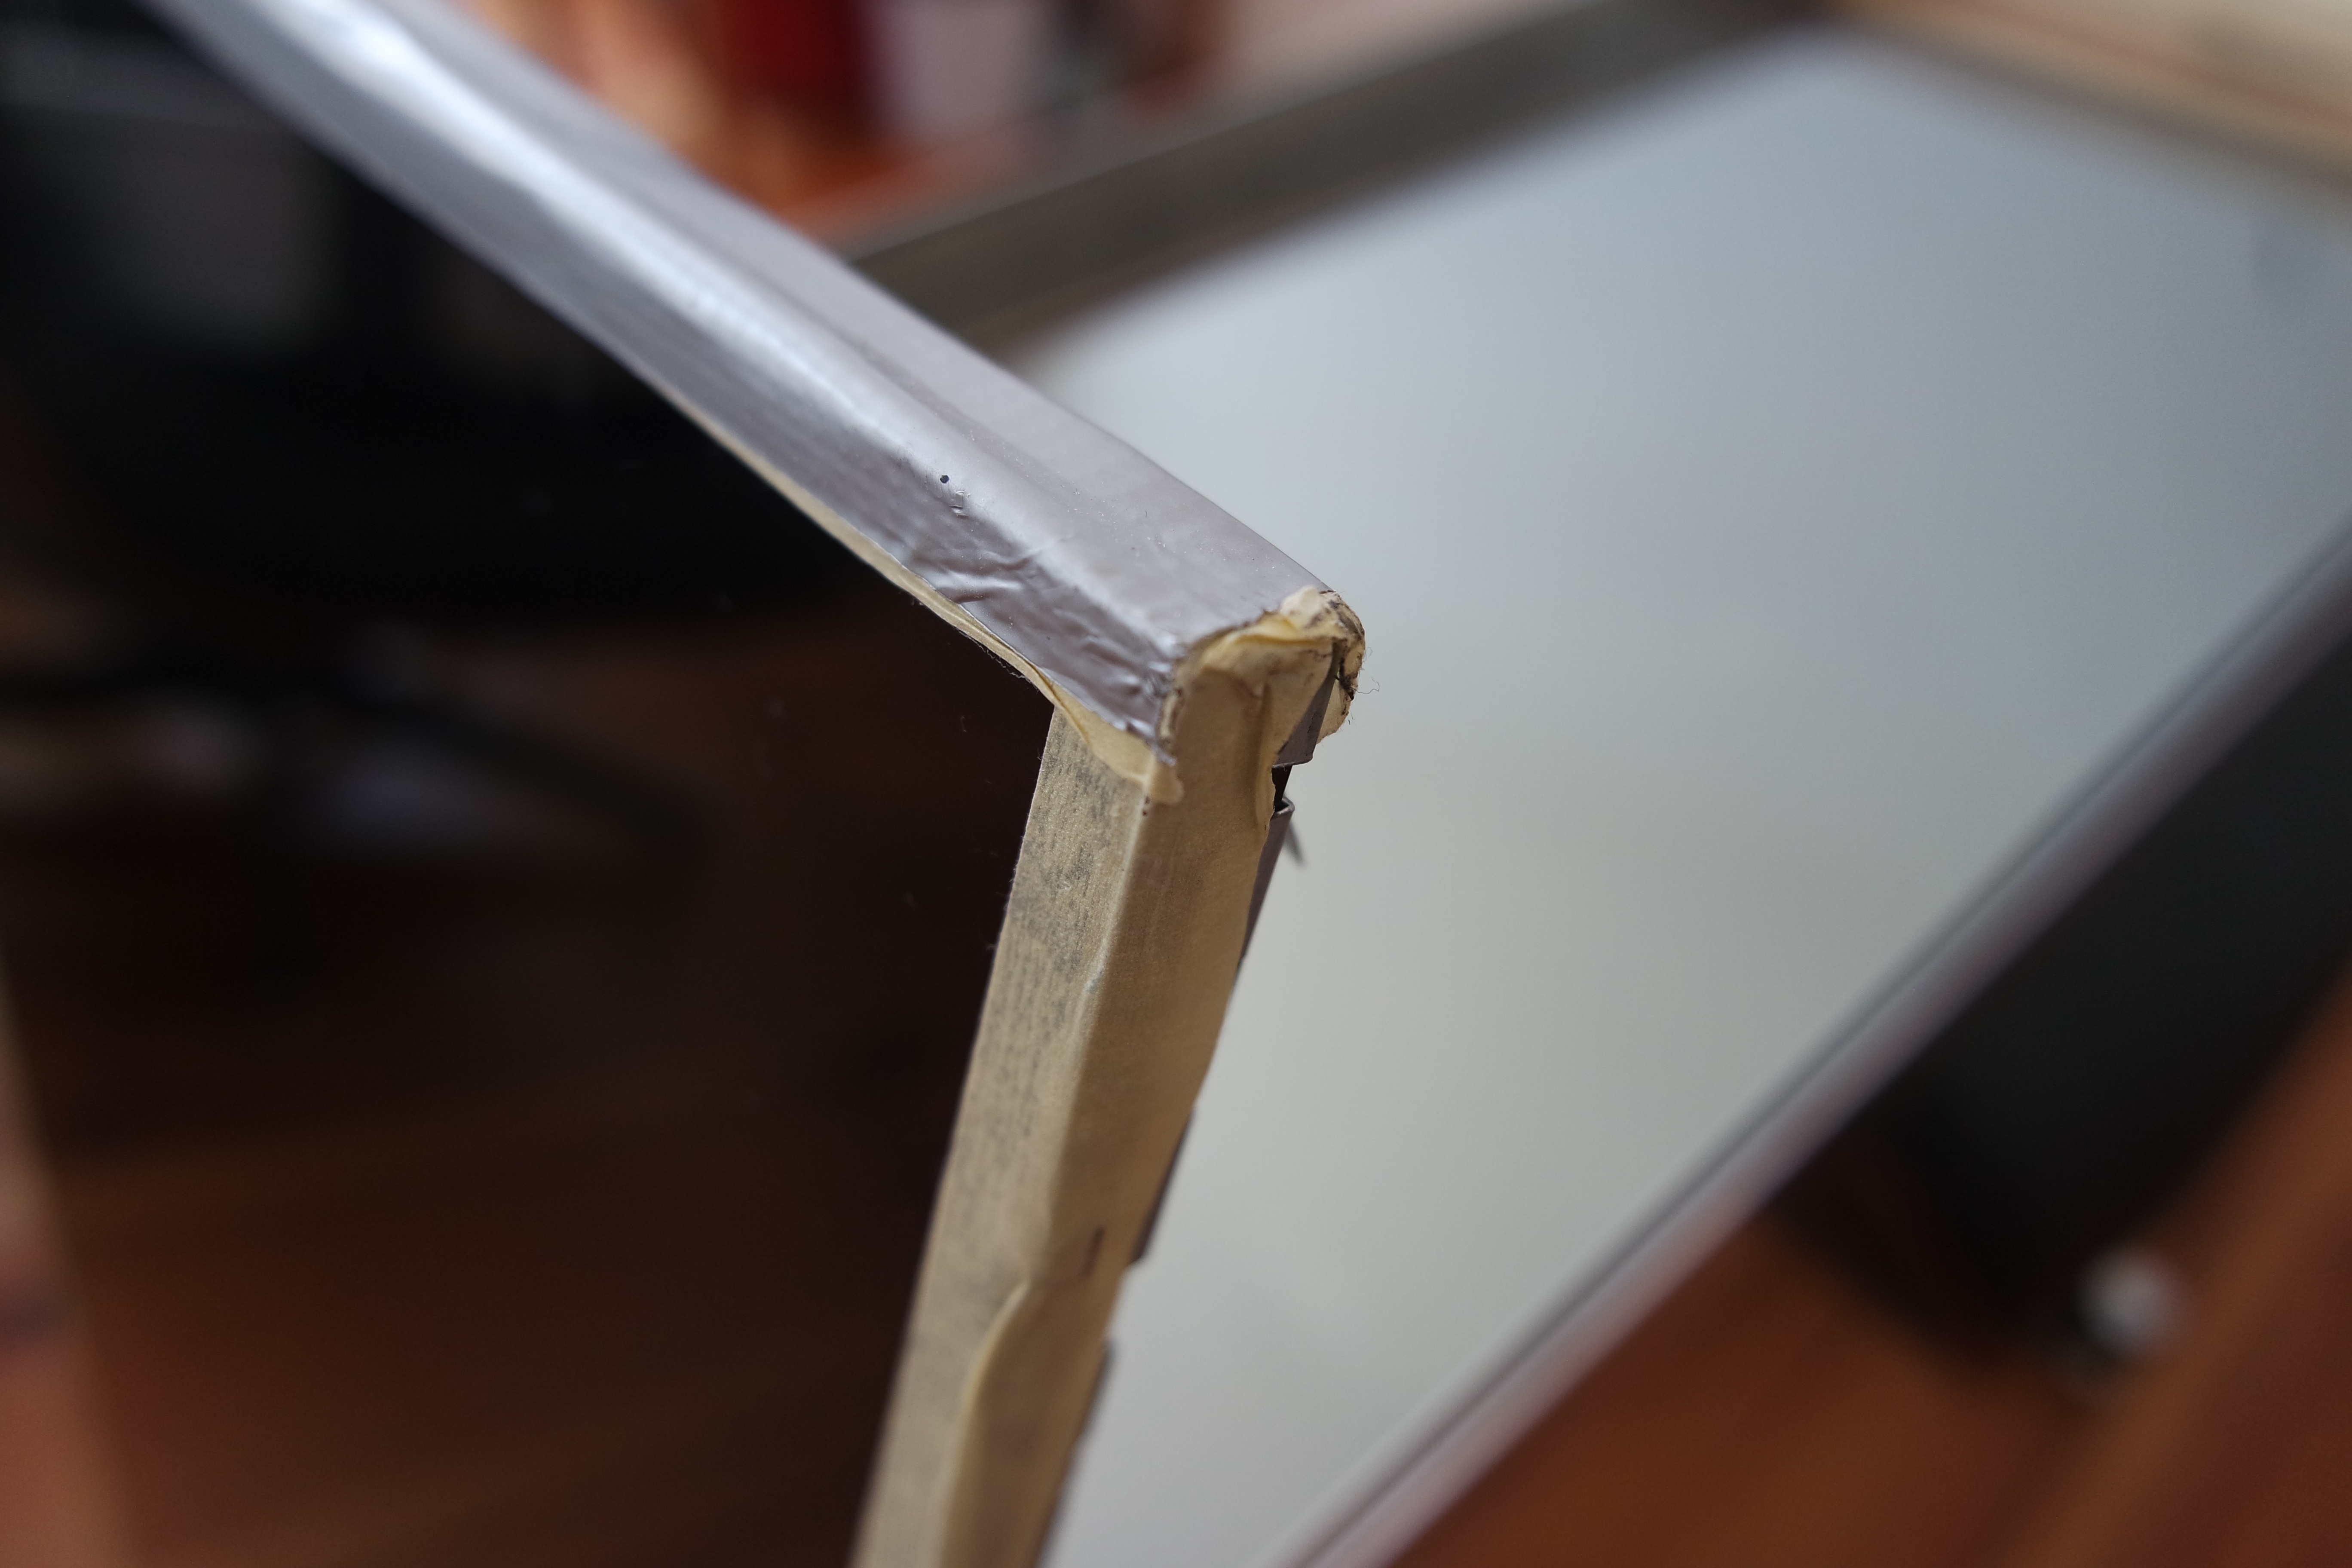
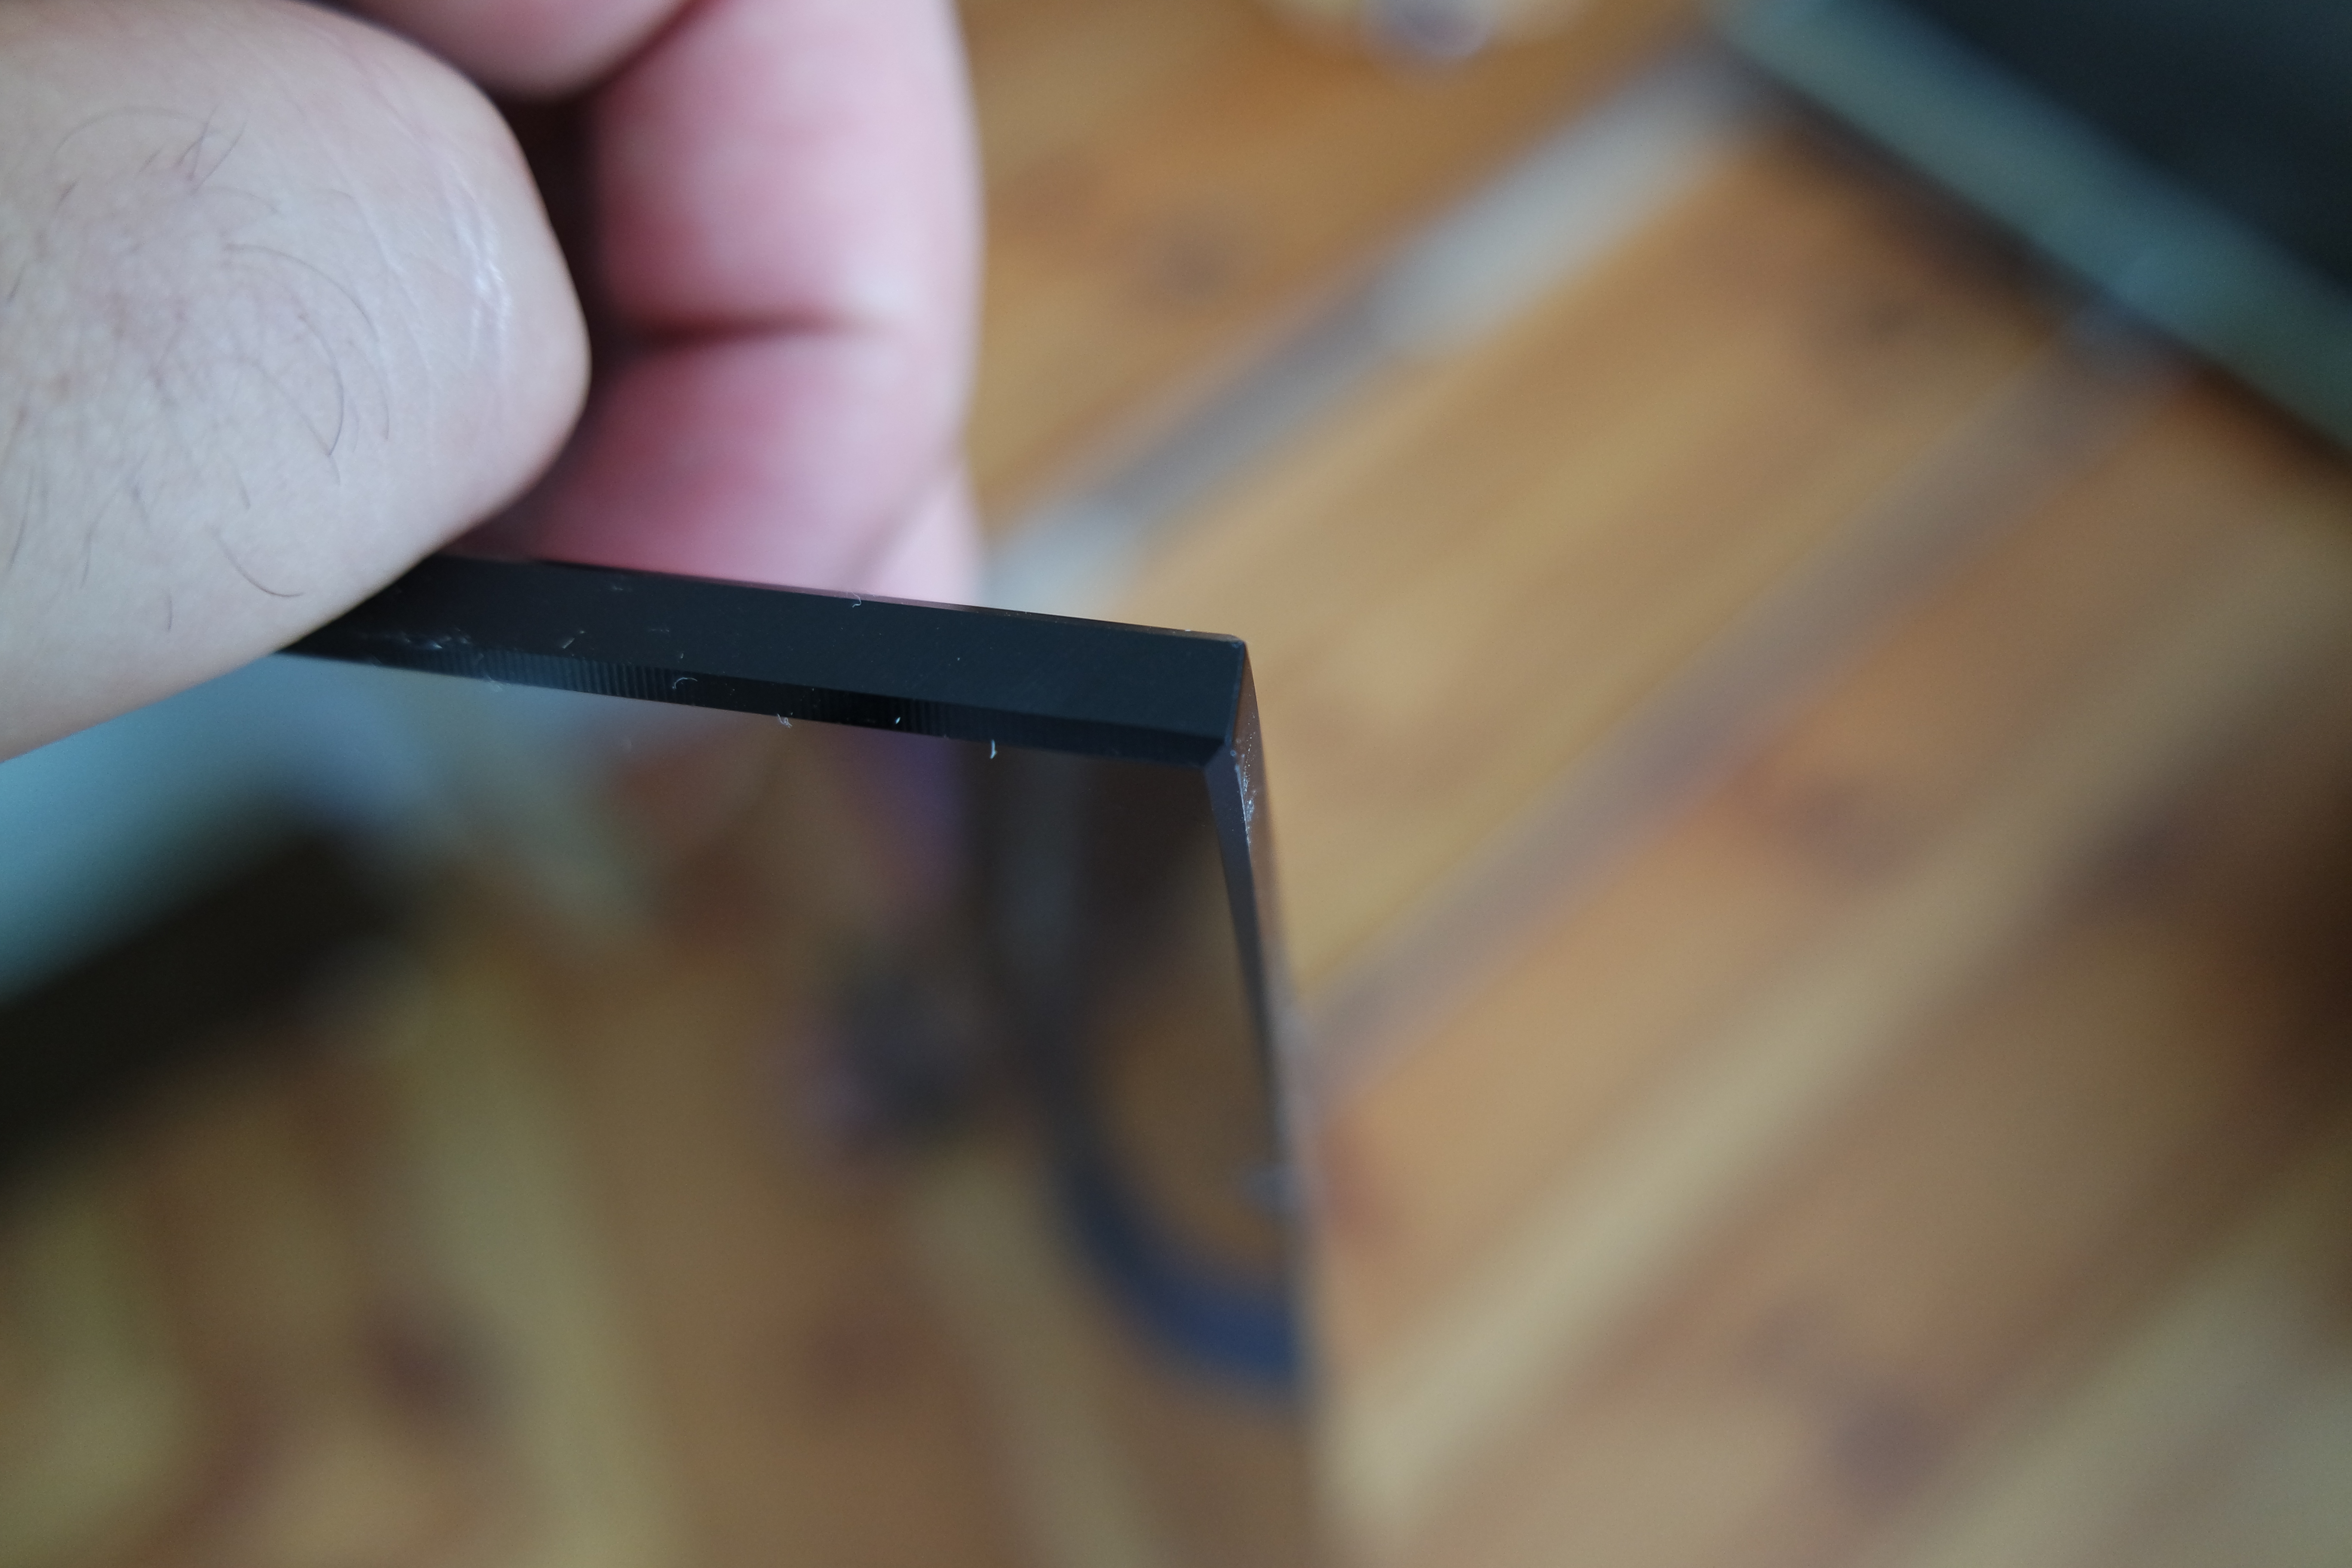
To give the glass more stability and to avoid the risk of cutting myself, I found it worth investing in polished edges.

To find a One-way mirror I decided to contact about ten nearby glazier. Only a few responded. Finally I decided to go with a 6mm thick piece by 41 cm x 103 cm for around 75€. If you are looking for a good reseller in Berlin, Germany I can totally recommend this place.

Time to put everything into a frame…

Building a big MagicMirror with metal frame – The Screen

The Screen

Finding the right monitor or HDTV

To get the exact size of the mirror-glass and frame a decision for the monitor was needed. The pc monitor I was looking for was:

  • About 27″ to get a width from 41 cm in portrait orientation
  • As thin as possible
  • Power and video connector needed to be mounted sideways, to get the whole mirror as thin as possible
  • A minimum resolution from 1080p

After some time hanging around in the bigger electronic shops I found some nice models but had to realise I underestimated the prices for pc monitors.

So I started to compare bigger and cheaper smart tv screens. Here is what I’ve learned.

The most important difference between pc monitors and HDTV screens is pixel density, which means the number of pixels placed into one square inch. A 15.6-inch laptop screen has the same number of pixels as the 32-inch HDTV screen, but the laptop has a much higher pixel density (141.21ppi) than does the HDTV (68.84ppi). The laptop’s screen will appear clearer, sharper, and more detailed than the HDTV’s screen when viewed from the same distance. The importance of pixel density decreases with viewing distance; that’s why the iPhone’s “Retina” screen has a density of 326ppi, while the MacBook Pro’s “Retina” screen has a density of just 227ppi.

So a decision had to be made. The bigger the better? Or a more detailed and sharp view?


I decided to give it a try and ordered a brand new Samsung UE32J6250. This 32″ HDTV has a diagonal ratio by 15:9 which provided me some extra height of a total of 70 cm by a width of still 42 cm (in portrait orientation).

Preparing the screen

To get the whole mirror as thin as possible I removed the casing. It’s a bit thrilling to open a new and never used TV, but hey, living on the edge …

By the way, you better be careful with the sharp edges of the frame, I just cut myself several times while removing the spindly plastic case.

While tearing everything apart it showed had some nice advantages. The speakers were easy to detach and would find a new place in the lowest part of the frame. Also the control knob and the IR receiver weren’t glued to the frame and could easily find a new position.

Next step – The Mirror


Building a big MagicMirror with metal frame – The Idea & Concept

The Idea

Just like the cool guys in there space ships, I was fascinated by the idea of a centralised info board in our home, to show personal info for your day or actual states of our smart home.

Then I stumpled about the Magic Mirror project from Michael Teeuw and was convinced. Without a doubt a Magic Mirror was needed in our home.

I started to figure out what was needed: an observation mirror, a thin monitor, a Raspberry Pi, some casing and lots of spare time.

The Concept

Concept of the magic mirror

There was already a big mirror in our hallway. The measurements by 41 cm x 103 cm seemed to by reasonable for a full body check before leaving the house.

The thickness of the whole mirror is caused by the monitor, the glass and the frame. To keep it as thin as possible at decided to try a metal frame which would hold the inner parts.

Monitors at a display size by 27″ have a height from 41 cm and a width from 55 cm. Rotated by 90 degrees this would fit, but would not cover to whole space behind the mirror. But hey, left spaces could be used for other tools like speakers or a camera above and beneath the monitor.

So lets start with the Screen