Magic Mirror: Display your website visitors location on a rotating globe with Google Analytics

This article describes how to picture the location of your website visitors on a rotating globe.

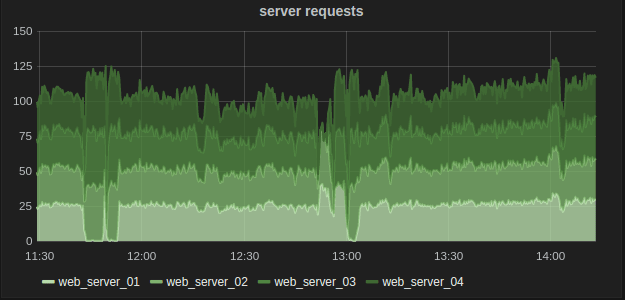
Do you prefer to display your data in a simple table or a rotating globe?

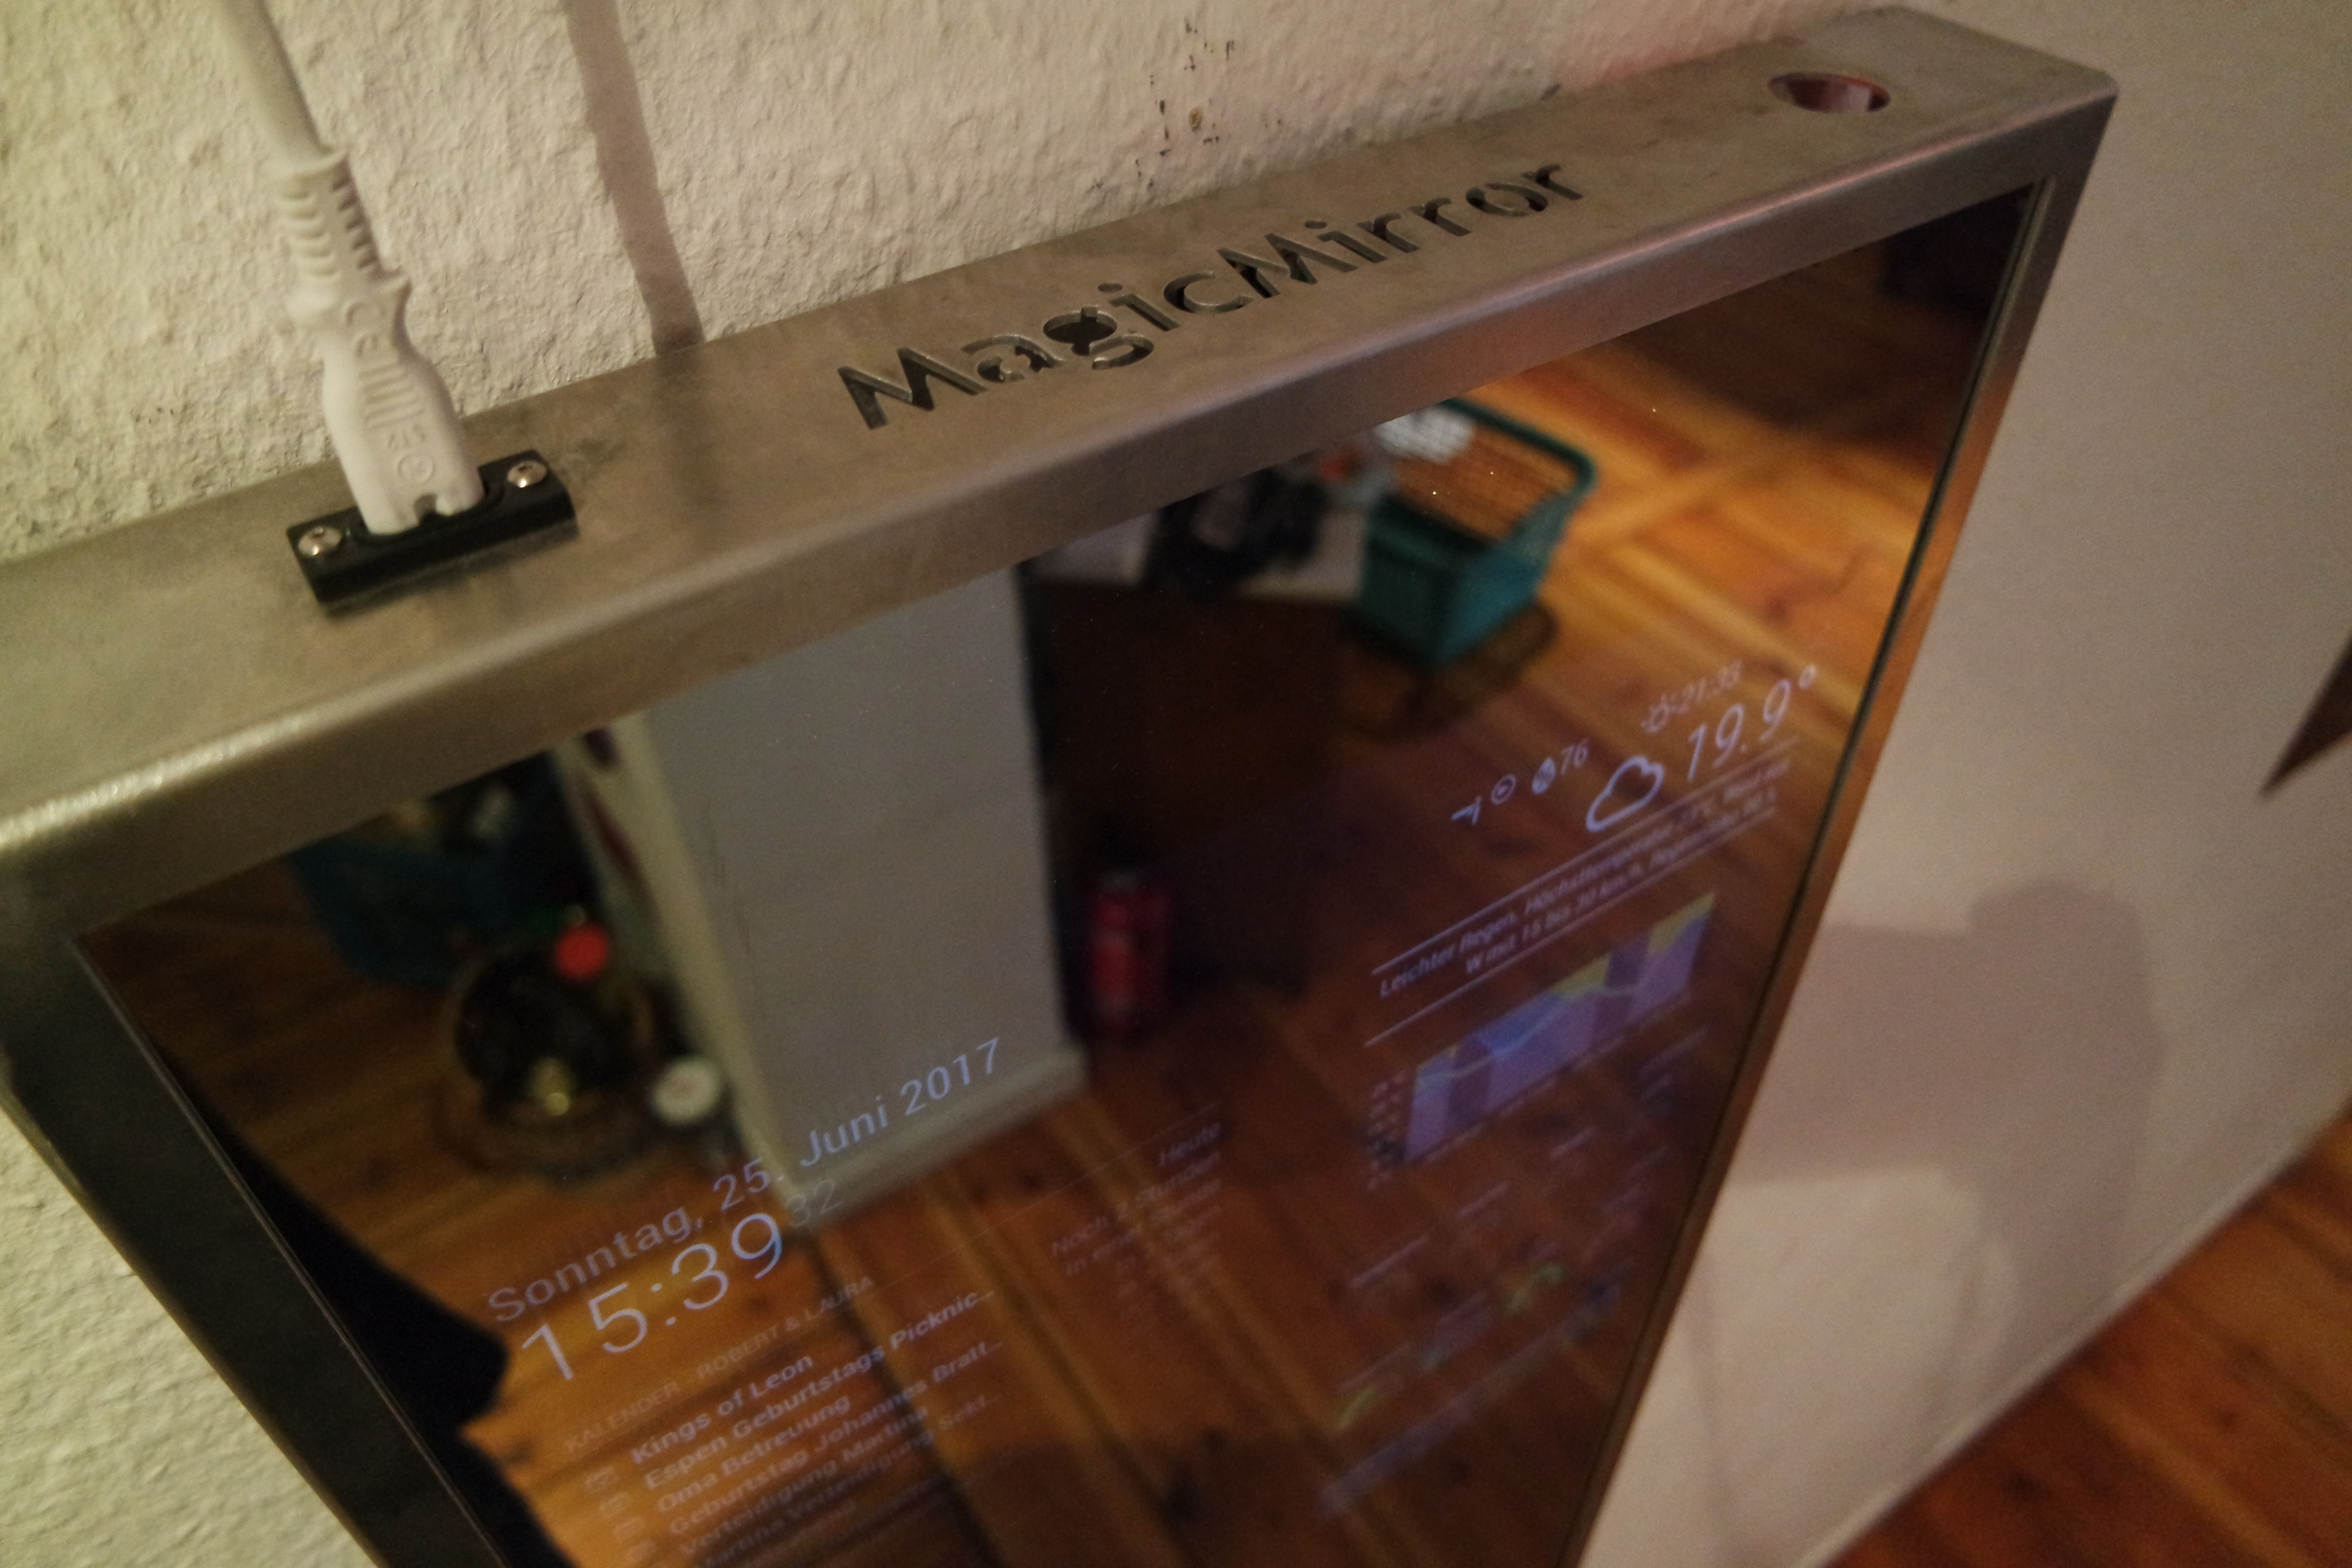
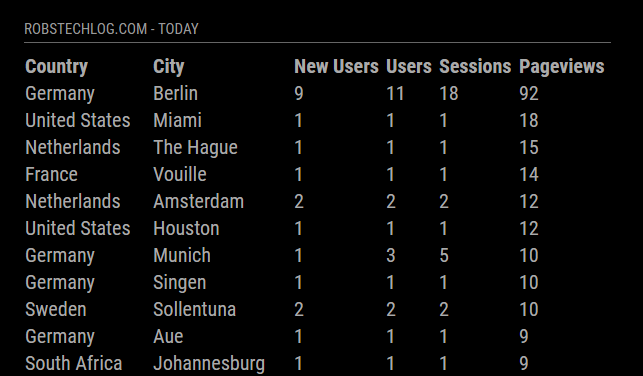
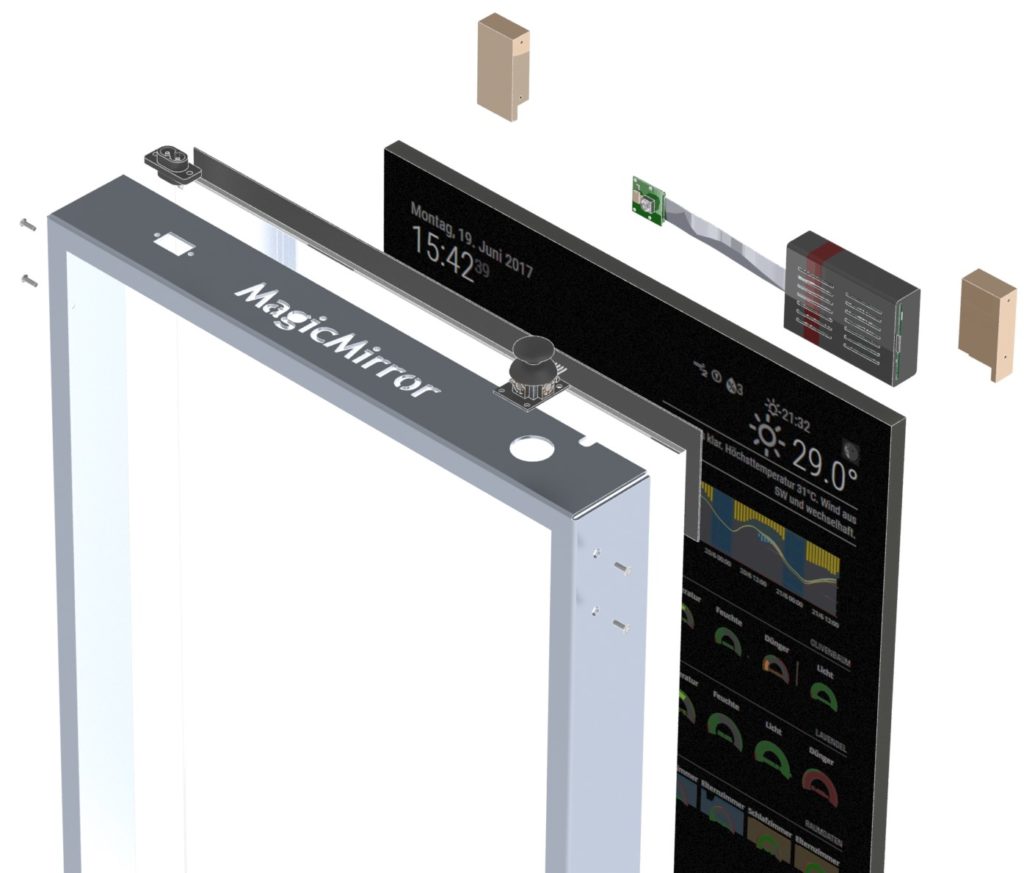
When I started to find a way to query google analytics using node.js to use it for a module for the Magic Mirror I was just looking for a comfortable solution to keep an eye on the visitor growth. The most motivating for me is to see, is the location of the people visiting my site.
This was already exciting in a table view, but then I stumbled about this animated earth globe in the MMM-Globe module, I saw what I had to do.

This WebGL based rotating globe really a piece of modern art in my eyes. You want to hear some interesting facts?
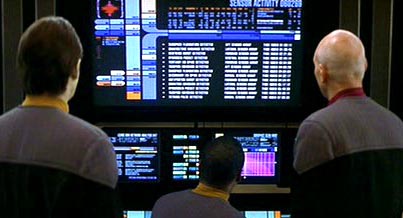
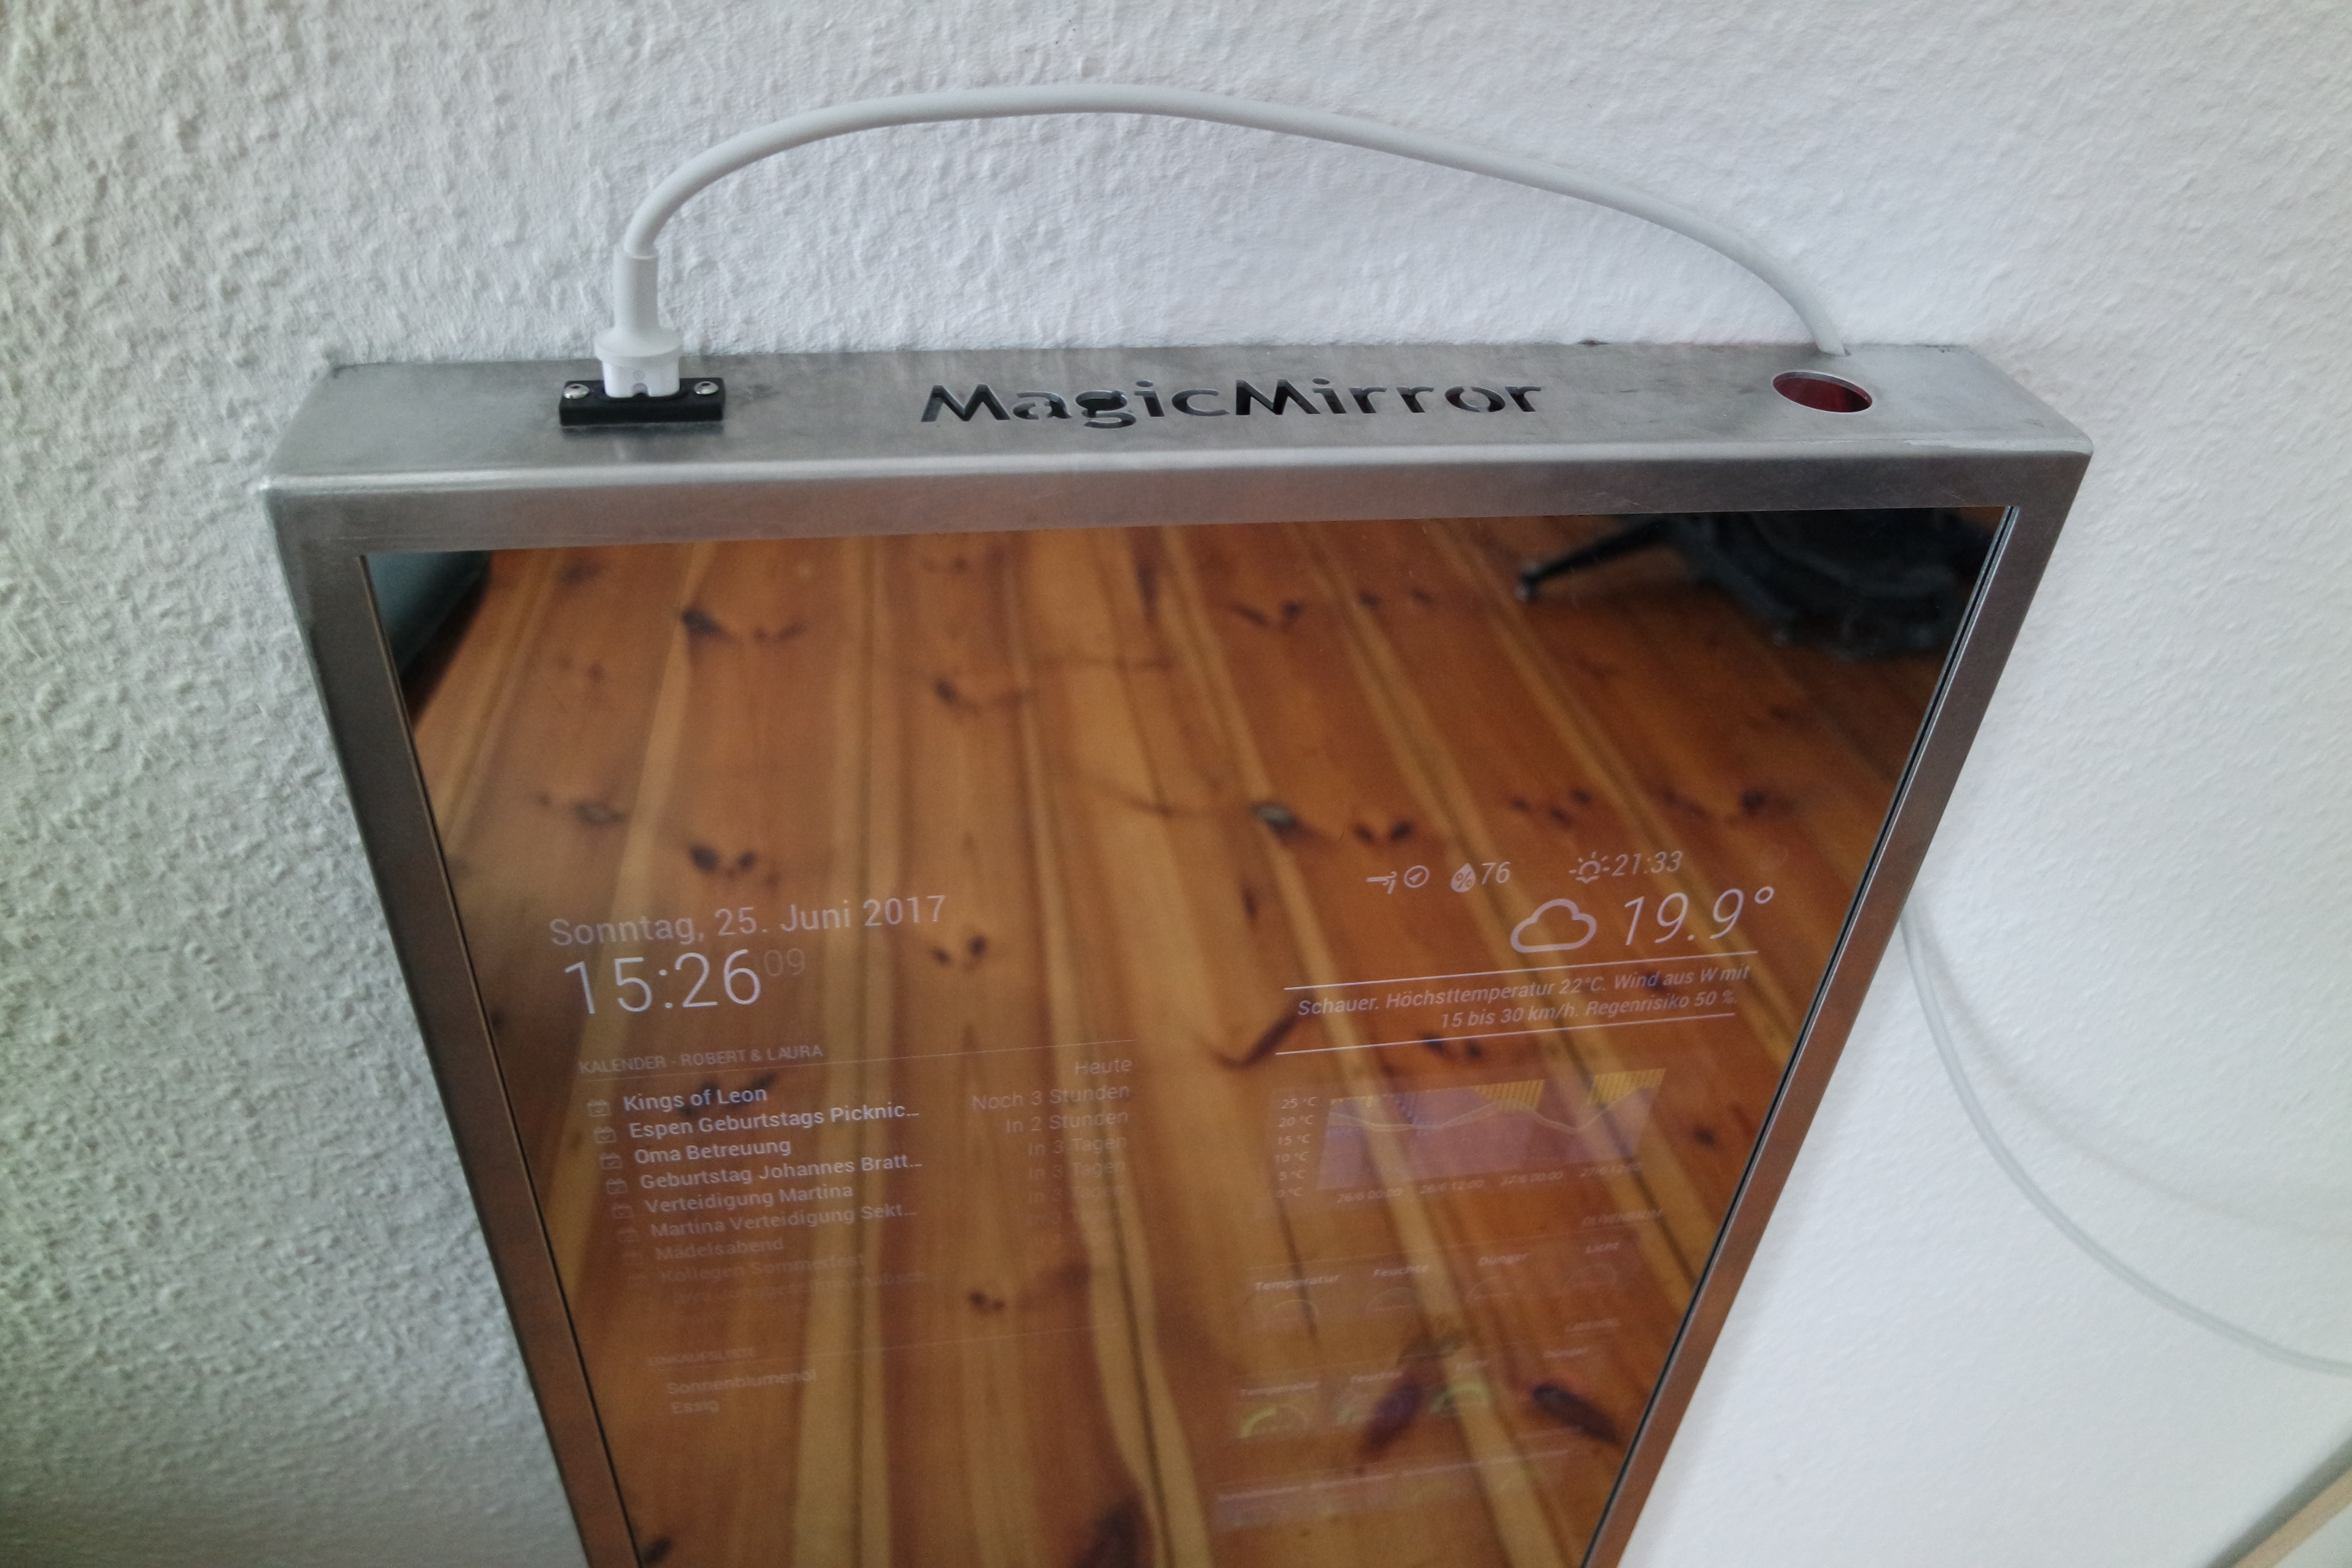
Amazing, isn’t it? Well, I think I need to warn you! If you already have a Magic Mirror or are planning to build one, here comes the bad news.
This is not run able on a Raspberry Pi 3, caused of the needed processor intensive calculations.

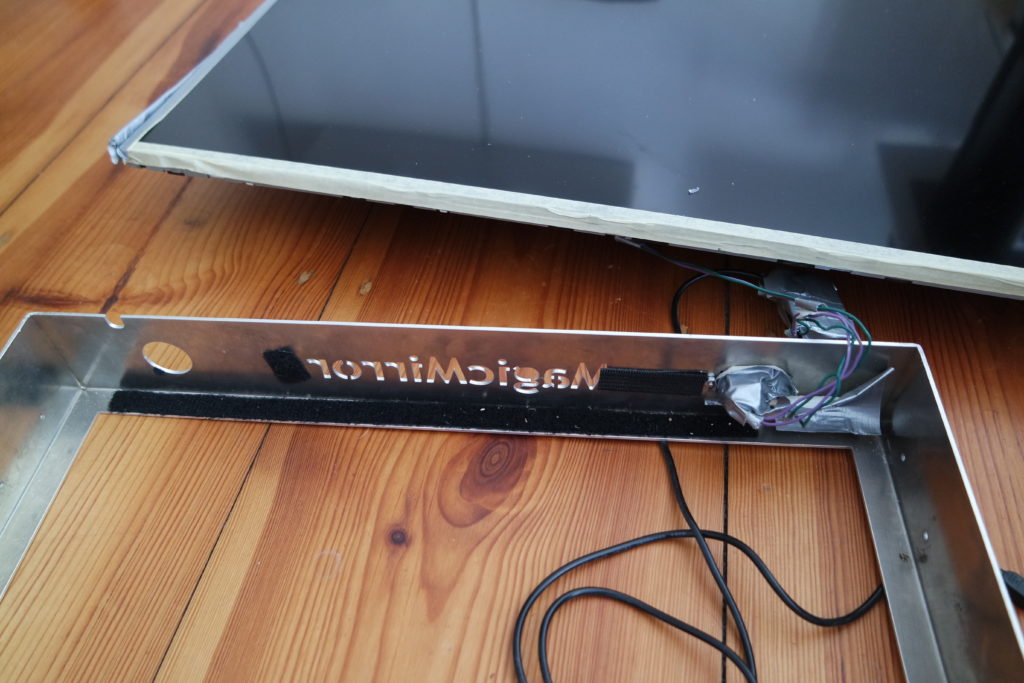
So time to look for a stronger alternative. But this is something else, I’m willing to blog later.

Installation of the setup

If you’re interested in showing your website data on the globe, follow these steps:

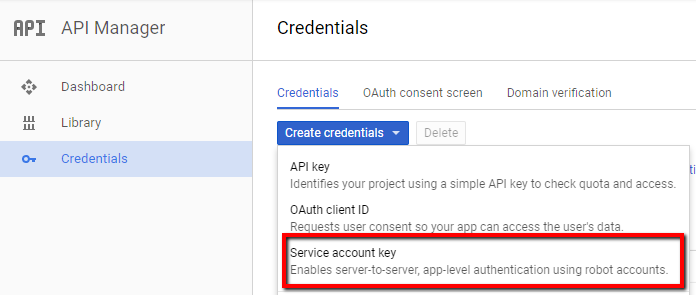
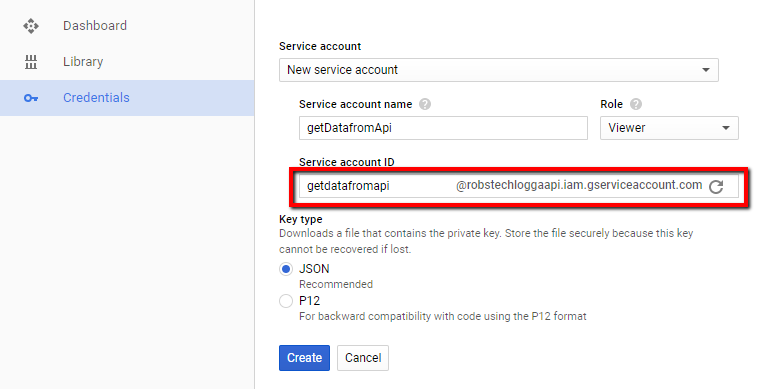
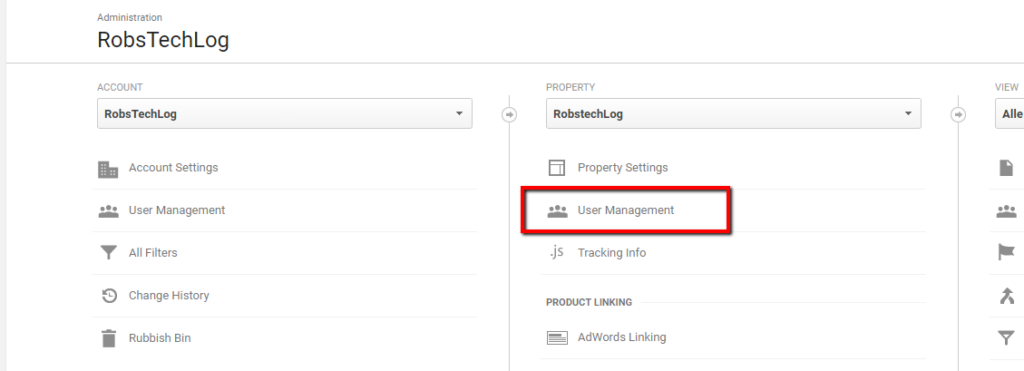
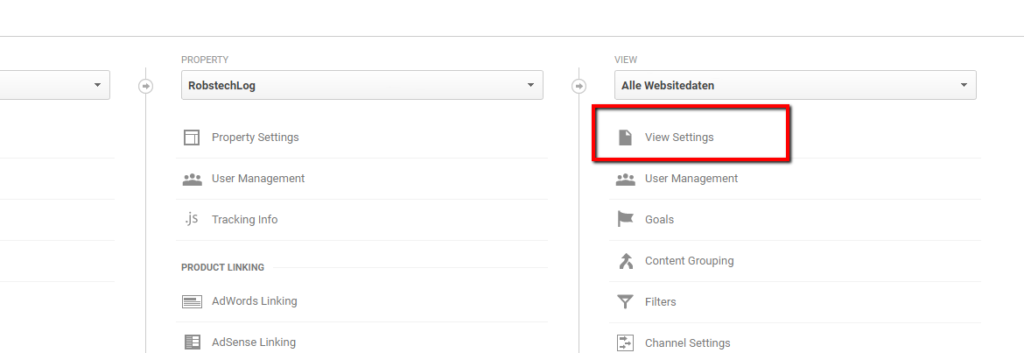
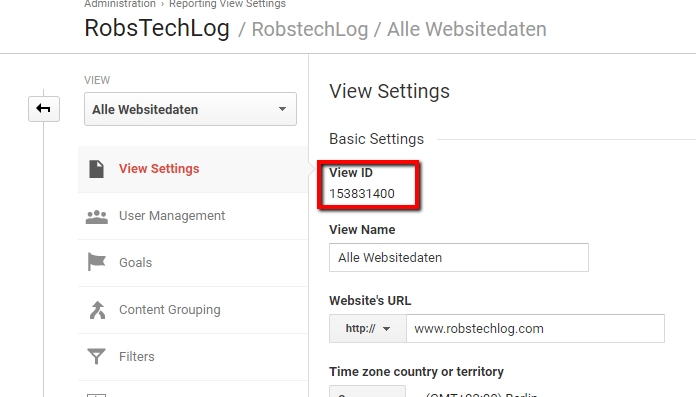
  1. Install the module MMM-GoogleAnalytics by following the installation instructions on Github.
  2. In the config part of MMM-GoogleAnalytics:
    1. ensure to enable 'ga:city, ga:country' for the dimensions-section in your query. Time range, filters and sort are fully adjustable!
    2. switch exportdatatoMMM_Globe:parameter from 0 to 1
  3. Install the module MMM-Globe.
  4. Enable the with by replacing the parameter value from 0 to 1 like  receiveExternalLocations:1 .

That’s all! Now start your mirror and lean back.


Magic Mirror: Show how your website performs with MMM-GoogleAnalytics

This blog post describes how to get credentials for using Googles Analytics Core Reporting API with module for the MagicMirror².
See the full setup and capabilities of this Magic Mirror Module on Github: MMM-GoogleAnalytics.

1. Create a Service Account Googles Developer console

  • First create a new project on Googles Developer console like “mywebsiteGAapi”.
  • Under the section “Credentials”, execute “Create credentials” and choose “Service account key
  • Create a new service account and choose a Service account name

    • Role: Project -> Viewer
    • Key type: JSON
    • Copy the email address under Service account ID
  • Click “Create”, save and rename your credential file (e.g. mywebsiteGAapi-6116b1dg49a1.json) in keyfile.json and save it in your MMM-GoogleAnalytics folder., like MMM-GoogleAnalytics/keyfile.json

2. Create a User and get your View ID from your Google Analytics Account

  • open the Admin panel in your Google Analytics Account and enter the User Management section
  • Create a new user
    • Email address:  The one you copied previously (It’s also in the JSON-file you already saved)
    • Property Permissions: Read & Analyse
  • Back in the Admin panel under View enter the View Settings

  • Copy the View ID

Perfect you did it, that’s all!

Programming modules for the Magic Mirror

Charts and Gauges

I love charts! So I wrote two little modules for the Magic Mirror to include beautiful graphics generated with grafana.
Depending on the object you want to monitor, you’re able to use a specific module.

MMM-GoogleAnalytics

Do you run a website and are interested in the statistics? Here is your module!
This module displays data from your Google Analytics Account on your website.
It supports dynamic queries and allows a real time analysis right on your mirror.

It’s also allows you to broadcast your customers/visitors location to an other module called MMM-Globe to display your data on rotating globe.
That’s nice, heh!?

Here you’ll find the module on Github, MMM-GoogleAnalytics.

MMM-GrafanaCharts

Did I tell you how my i like charts and graphs? Misc. Information merged and combined in a confined space. You begin to get a feel for the data and can usually estimate the situation by briefly looking at it. Fantastic. That’s why I love grafana!

The data that’s currently displayed on my mirror with this module is a weather forecast for the next two days. If you’re interested in building you own weather chart, check out my blog post Programming your personal weather chart.

Display your graphs on your mirror with MMM-GrafanaChart.

MMM-GrafanaGauges

Gauges are extremely helpful to monitor individual values ​​and their deviations from the nominal value.
With this module e.g. vital values of my plants are displayed on the mirror.
So to display several gauges in one row on your Magic Mirror, use MMM-GrafanaGauges.

Building a big MagicMirror with metal frame – The summary, part list and prices

This blog shows the costs, used parts and summarizes the main challenges I experienced when building my smart mirror.

The Summary

When I first run into the MagicMirror project I was convinced this was something I wanted to build on my own.  Without the amazing work and the easy to use framework by Michael Teeuw, this wouldn’t any possible to archive. And this was real fun!

What did it cost?

It total I spend exactly 737,70 € on this project. Much more than I was expecting in the beginning. As already told, most expensive was the TV Screen. But see yourself…

Items Object Model Price
1 Frame custom 100,00 €
1 Mirror custom 110,00 €
1 Screen Samsung UE32J6250SU 32 Full HD Smart TV Wifi Black 354,89 €
1 Mount Hama Fix Ultraslim TV Wall Mount Medium Black 14,99 €
1 RaspberryPi3 Raspberry PI 3 Model B A1.2GHz 64-bit quad-core ARMv8 CPU, 1GB RAM 37,93 €
1 RaspiCase SB Components Raspberry Pi 3 Transparent Case 6,49 €
1 Camera Raspberry Pi camera module NoIR V2 36,90 €
1 Power Supply Rydges EU 5V 3A Micro USB Power Supply 9,99 €
1 Short HDMI cable 0,2m SunshineTronic High Speed HDMI cable with ethernet 6,90 €
40 Infrared LEDs Infrared OSRAM LEDs SFH 485 15,00 €
40 LED reflector 5mm Reflector 5mm 21,21 €
2  Power socket Euro8 9,50 €
1 Power cable white Euro8 Maxima Trade Netzkabel 8,90 €
1 Wires, Screws, woodbars several 5,00 €
Total 737,70 

How long did it take?

It’s hard to say how much time I had spent only on the hardware. I started to dive in the code very early. Maybe 60 to 80 hours including researches regarding the setup and hardware.

What did I learn?

As already told I underestimated the price. But the real challenge in this project was to improve the pictures made with the camera, behind the mirror glass.
Several prototypes of the IR spotlights where built, I had to spend several hours of adjusting parameters and retaking sample pictures for the face recognition module to get it work properly.

After a few month, the number and of modules I’d like use on the mirror started raised. So did the requirements on CPU and memory resources. It turned out the Raspberry Pi 3 quickly reaches its limits, when using modules for face or speech recognition or when displaying a rotating globe. So right now, I’m already thinking about how to rebuild the inner parts to get a board with more power.

What’s next?


The possibilities of the Magic Mirror are immense. Now I have this cool piece of data provider right in my hall it’s time to make this a impressive info board. Therefore several modules are easily to add to the open source software framework. Several developers made some amazing software. So did I.
If you’re interested, check out my developed modules for the Magic Mirror.


Building a big MagicMirror with metal frame – The Assembling

The Assembling

1Time to put everything together. Or with other words let’s say: ‘Grab the duct tape, we’re building a magic mirror’.


First a little soldering was needed, to power up the TV screen without using the normal power cable for space reasons.


At the bottom of the TV screen a black cardboard prevent any light coming through the mirror. So for person standing right in front of the mirror, also the lower part just looks like a normal mirror.

Behind the cardboard the TV Speakers were taped to provide a nice sound if needed.


The Power were already installed and the mirror fits as expected.

The wooden bars which are fixing the frame and mirror to the TV Screen are screwed to the frame.

A proper mount its holding everything tight.

Final installation hanging save on the mount.

Building a Magic mirror – The Summary

Building a big MagicMirror with metal frame – The Camera

The Camera

One of the first modules for the magicmirror framework I had to try myself, was the face-recognition module by paviro. After experimenting some time with the software I was fully convinced. The Mirror needed a camera.

For keeping the ‘magic’ in the mirror, It’s was not an option to mount the camera outside the frame. A grave and not so easy decision as stated out during the further tests.

The mirrors final location is in the windowless doorway. Most of the time no natural lighting helps the camera to make sharp and contrast shots. Maybe an IR version of the raspi camera module could do this tough job? Yes it can, but of course …. it needs infrared light.

Light – even infrared of course – get partially reflected by the two way mirror. Surprise.
So to get the same brightness for a camera behind the mirror you need more like 60 % ‘more’ light than camera outside would need.

But obviously every light emitted by a lamp behind the mirror suffers from the same effect in brightness.

This wasn’t unsolvable, but as I was totally convinced everything had to find its place within the frame it was a tough lesson I had to learn.

With a thin mirror as planned – and a frame already ordered – there was no way integrating a custom infrared spotlight within the mirror. So I decided to try my luck with infrared LED. And hey, why not reflect the light, which was reflected by the mirror again.

So first attempts were made using aluminium foil as ‘re-reflector’. Better but far away from a good image in a near dark environment.

Finally I decided to maximize the number of LEDs with an overall voltage consumption of nearly 12V by two matrices of 3 X 6 spots around the camera. Each LED has a reflector itself to focus in the forward direction.

As the camera is mounted on top of the screen, lights and camera are positioned in an angle of 45° to capture the face of the person viewing in the mirror.

Very helpful for positioning and lights in this position was a acryl mirror behind the led, with an right angled outside part.

The camera itself is connected to the raspberry Pi and was mounted in the wooden bar which is fixing the frame on the monitor.

Finally was able to receive bright pictures which were usable for recognize persons behind the mirror.
Time to start the real fun part: The Assembling

Building a big MagicMirror with metal frame – The Frame

The Frame

With the decision regarding screen  and mirror  taken final dimensions were clear and the fun with constructing a frame could begin. To get a thin product with a solid and industrial look I wanted to use a bent enclosure out of sheet metal.

With the kind help of my flatmate, who owns a hardware prototype company, we were able to design a nice prototype.

The results of the construction process were provided to a nearby metal factory. The design drawing is available for download.


The construction as Solidworks® Part is also available online on Onshape.

After waiting more than five very looong weeks, the frame was finally crafted and made me another 100€ poorer. Man, this was getting way more expensive than first calculated.
But every bad taste vanished when the parts were together for the very first time.

As the TV screen is mounted right to the wall, the frame should ‘sit’ on the screen, holding the glass of the mirror itself. To fix the frame properly to the screen, we first planned to use individual metal blocks on each edge of the screen and tighten them with two screws.

Small spoiler: In the end I decided to use two wooden bars on the top and the bottom of the mirror to fix the frame. There were much more easy to customize and gave an additional vertical stability to the frame.


On the top and the button of the frame a place for a power socket was planned. The speakers of the TV screen were easily to ease and found their new place on the button of the frame, able to play through several oval openings.

Soft tape from a ‘hook and loop tape’ is used on the inner side of the frame prevent the monitor screen from feared scratches.


Time to put every piece to its final destination – The Assembling

Building a big MagicMirror with metal frame – The Mirror

The Mirror

The “magic” of this project is made by a semi-transparent mirror. When one side of the mirror is brighter than the other it behaves like a window. Otherwise it’s a regular mirror.

To give the glass more stability and to avoid the risk of cutting myself, I found it worth investing in polished edges.

To find a One-way mirror I decided to contact about ten nearby glazier. Only a few responded. Finally I decided to go with a 6mm thick piece by 41 cm x 103 cm for around 75€. If you are looking for a good reseller in Berlin, Germany I can totally recommend this place.

Time to put everything into a frame…

Building a big MagicMirror with metal frame – The Screen

The Screen

Finding the right monitor or HDTV

To get the exact size of the mirror-glass and frame a decision for the monitor was needed. The pc monitor I was looking for was:

  • About 27″ to get a width from 41 cm in portrait orientation
  • As thin as possible
  • Power and video connector needed to be mounted sideways, to get the whole mirror as thin as possible
  • A minimum resolution from 1080p

After some time hanging around in the bigger electronic shops I found some nice models but had to realise I underestimated the prices for pc monitors.

So I started to compare bigger and cheaper smart tv screens. Here is what I’ve learned.

The most important difference between pc monitors and HDTV screens is pixel density, which means the number of pixels placed into one square inch. A 15.6-inch laptop screen has the same number of pixels as the 32-inch HDTV screen, but the laptop has a much higher pixel density (141.21ppi) than does the HDTV (68.84ppi). The laptop’s screen will appear clearer, sharper, and more detailed than the HDTV’s screen when viewed from the same distance. The importance of pixel density decreases with viewing distance; that’s why the iPhone’s “Retina” screen has a density of 326ppi, while the MacBook Pro’s “Retina” screen has a density of just 227ppi.

So a decision had to be made. The bigger the better? Or a more detailed and sharp view?


I decided to give it a try and ordered a brand new Samsung UE32J6250. This 32″ HDTV has a diagonal ratio by 15:9 which provided me some extra height of a total of 70 cm by a width of still 42 cm (in portrait orientation).

Preparing the screen

To get the whole mirror as thin as possible I removed the casing. It’s a bit thrilling to open a new and never used TV, but hey, living on the edge …

By the way, you better be careful with the sharp edges of the frame, I just cut myself several times while removing the spindly plastic case.

While tearing everything apart it showed had some nice advantages. The speakers were easy to detach and would find a new place in the lowest part of the frame. Also the control knob and the IR receiver weren’t glued to the frame and could easily find a new position.

Next step – The Mirror


Building a big MagicMirror with metal frame – The Idea & Concept

The Idea

Just like the cool guys in there space ships, I was fascinated by the idea of a centralised info board in our home, to show personal info for your day or actual states of our smart home.

Then I stumpled about the Magic Mirror project from Michael Teeuw and was convinced. Without a doubt a Magic Mirror was needed in our home.

I started to figure out what was needed: an observation mirror, a thin monitor, a Raspberry Pi, some casing and lots of spare time.

The Concept

Concept of the magic mirror

There was already a big mirror in our hallway. The measurements by 41 cm x 103 cm seemed to by reasonable for a full body check before leaving the house.

The thickness of the whole mirror is caused by the monitor, the glass and the frame. To keep it as thin as possible at decided to try a metal frame which would hold the inner parts.

Monitors at a display size by 27″ have a height from 41 cm and a width from 55 cm. Rotated by 90 degrees this would fit, but would not cover to whole space behind the mirror. But hey, left spaces could be used for other tools like speakers or a camera above and beneath the monitor.

So lets start with the Screen