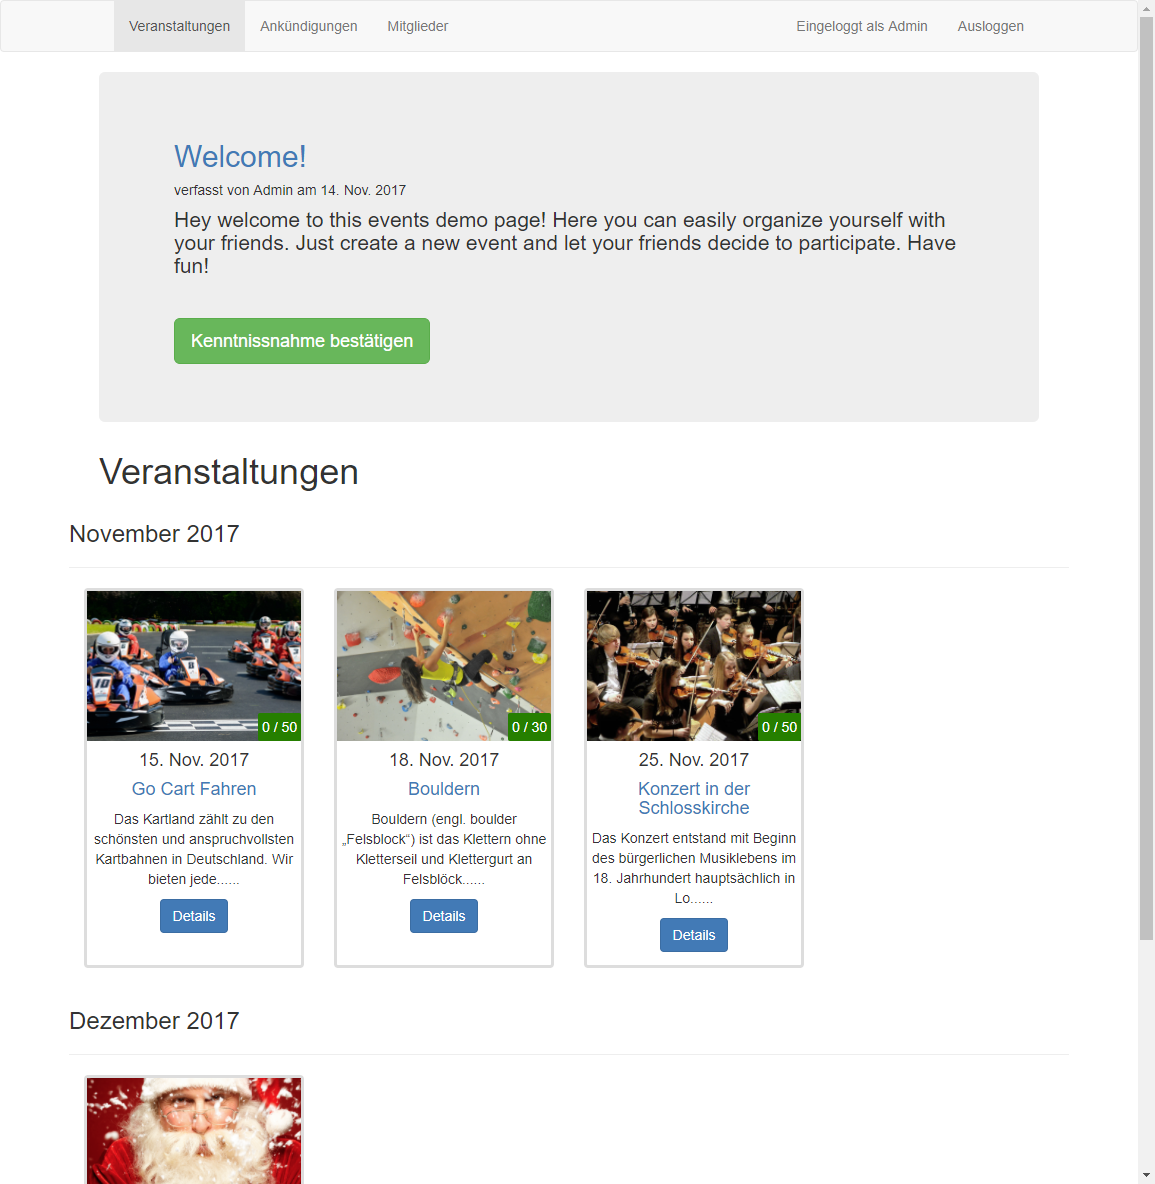
Run a simple and free website to organize events, parties or other happenings with more participants. Easily monitor and inform your subscribers. Let everybody stay in touch and keep an overview of the number of participants.
A free and easy to use website for your events in your hands
Are you are looking for a simple and robust solution to organize your upcoming events with several people involved? You can now run your own simple open source website. Source code and instructions are available on GitHub.
Try out the demo website
A demo application is up and running here. By now everything on the front end is in German, but if you looking for a translated version, just let me know.
To test the demo page, just register by using the registration page and fill in your credentials.
At the bottom fill in a “Codewort”. Choose between “User” and “Admin” to get the equivalent privileges.
The following features are available:
- Enter new events (title, description, date, place, max. subscribers, price, etc.) on you user account page.
- Events are displayed on a several page and can be seen as a thumbnail or table view.
- Each user is available to subscribe to your event, as long as the deadline for subscription is not due or a the maximal number of subscribers is reached.
- Every user can leave comments to each event
- Admins are able to write announcements, seen by all users.
- Admins are allowed to delete and edit events, comments, subscriptions, etc.
- Password recovery via Email
The technology behind the application and how it works
Here is how the setup is working:
- The website itself is a application using node.js and is written in javascript using several great packages for web development like express, mongoose or passport.
- The application itself is hosted by heroku, a cloud platform as a service (PaaS) provider.
- A MongoDB (a free and open-source cross-platform document-oriented database) is storing the data hosted by mLAB
How to install
Here is an easy solution, how to host the website for free. In the first step a database is setup. The second steps shows how to install the application website on a server and get it up and running.
- Sign up on mLab for creating a database.
- add a new Deployment by hitting the “Create new” button
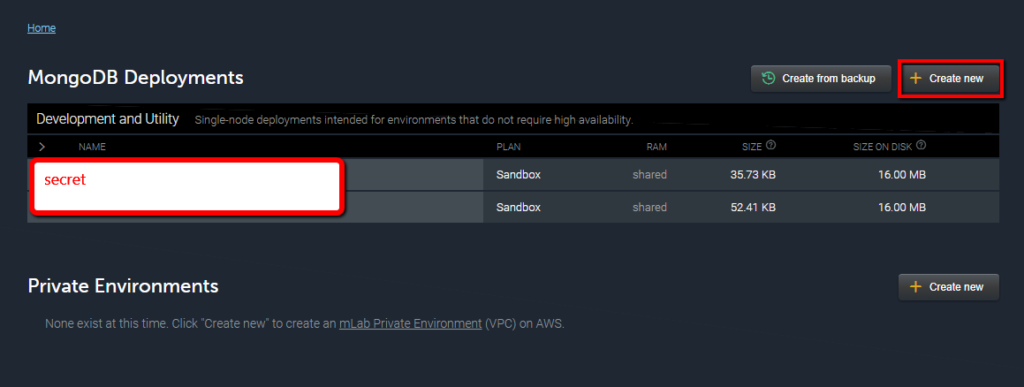
- Choose a cloud provider of your choice and the Sandbox Plan Type. Hit next.
- Choose your region.
- Give your Database a name and submit your order.
- After some seconds, your Database should be ready to use. Click on it.
- Under “Users”. Create a new user with a password. This user is needed to connect the database and the website application.

- Now Copy the standard MongoDB URI shown in the upper part of the site and fill in the placeholders <dbuser> and <dbpassword> with the credentials you have chosen. This should look like mongodb://website_user:secretpassword@ds12345.mlab.com:123245/mydatabasename. You will need this URI a few steps ahead when filling the environment variables.
- Perfect. Your Database is now setup and waiting for input!
- add a new Deployment by hitting the “Create new” button
- Sign up on heroku to host the website application.
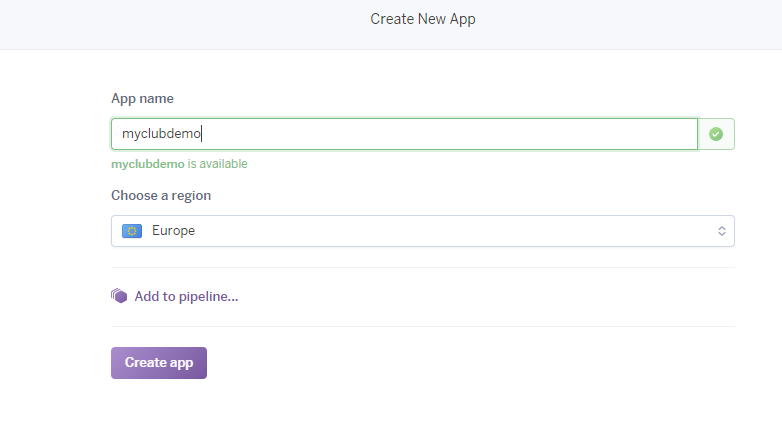
- Create a new app. Choose a name you like and your region.
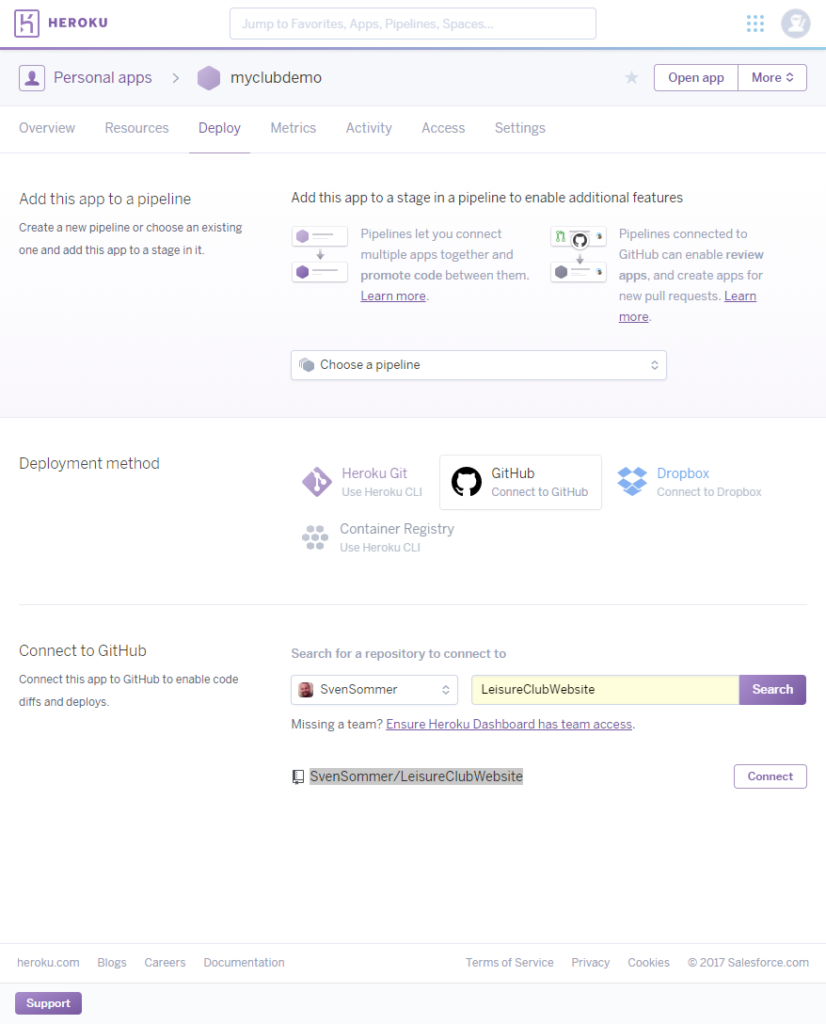
- On the Deploy tab choose GitHub as a Deployment method and connect to the Github directory SvenSommer/LeisureClubWebsite and connect.
- Under Settings enter and save the Enviroment variables:
- DATABASEURL – URL to the database. Put in your mLab connection string. Like like: mongodb://website_user:secretpassword@ds12345.mlab.com:123245/leisureclub_demo
- SITENAME – The name of your Website. It appears at several locations, e.g. in the navbar.
- PASSWORDSECRET – Passphrase to ensure password authentication. Just type some random characters and numbers.
- MAILADRESS – Password reset works with a googlemail account. A Google Mail address is needed!
- GMAILSERVERPW – Password reset works with a googlemail account. The Password is needed.
- USERPASSPHRASE – When registering. User need a passphrase. This gives them access to the member sites with the events.
- ADMINPASSPHRASE – Administrators use another passphrase and get additional actions, like delete and edit comments, members, events.
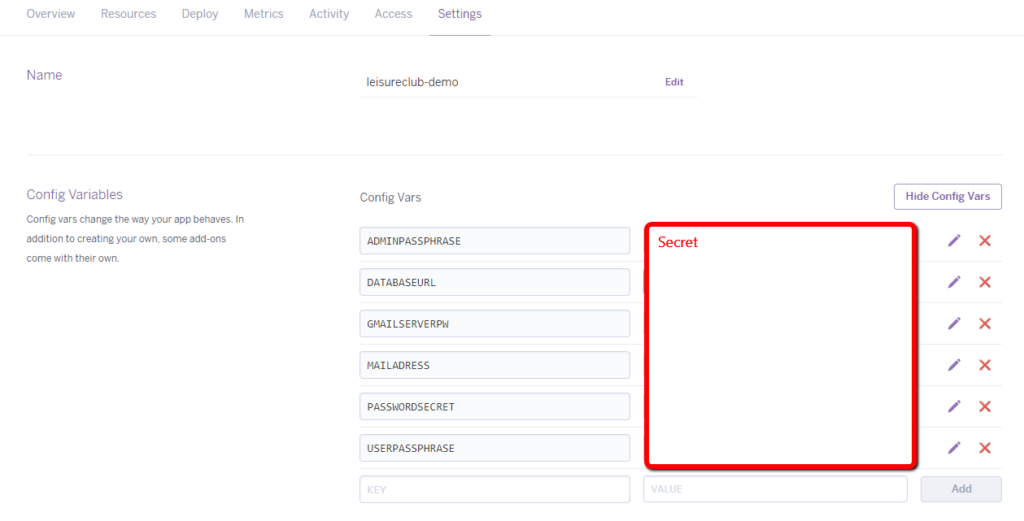
- Also in the settings tab specify the Buildpack to nodejs

- Let heroku deploy the app by switching to the deploy tab again and hitting the Deploy Branch button under Manual deploy.

- Hit the View Button to see your Website.
- Create a new app. Choose a name you like and your region.
