This blog shows the costs, used parts and summarizes the main challenges I experienced when building my smart mirror.
The Summary
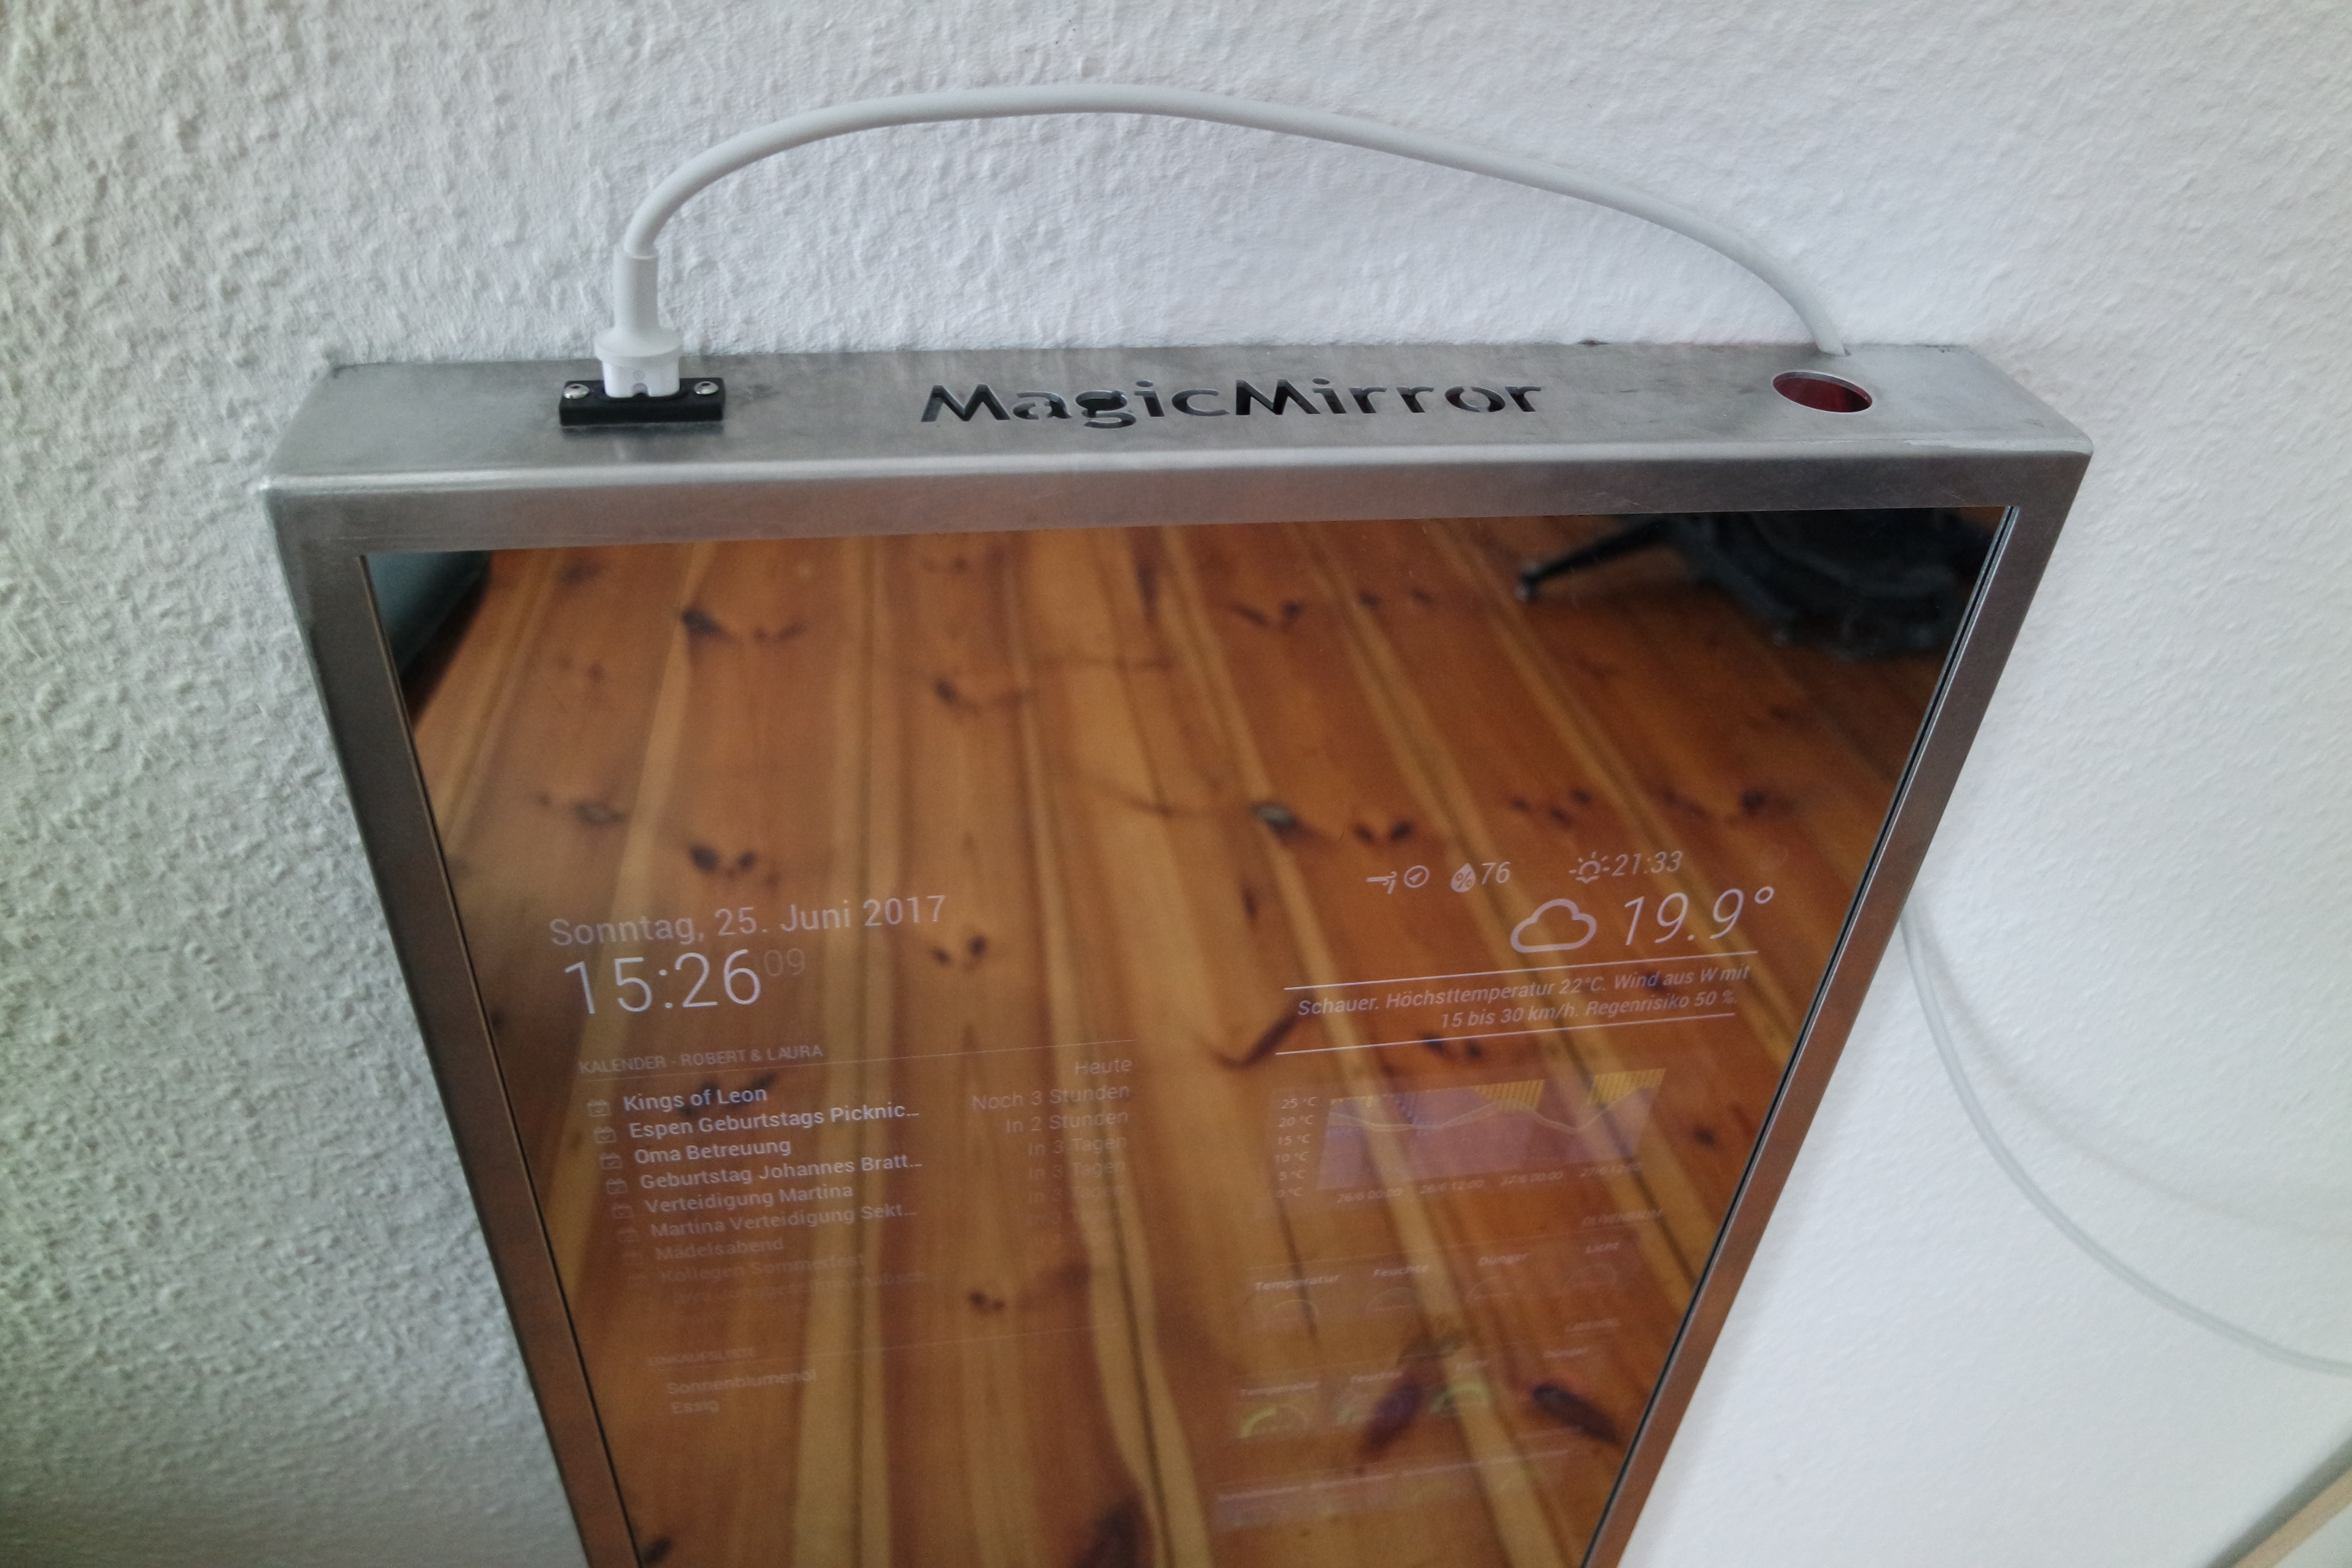
When I first run into the MagicMirror project I was convinced this was something I wanted to build on my own. Without the amazing work and the easy to use framework by Michael Teeuw, this wouldn’t any possible to archive. And this was real fun!
What did it cost?
It total I spend exactly 737,70 € on this project. Much more than I was expecting in the beginning. As already told, most expensive was the TV Screen. But see yourself…
| Items | Object | Model | Price |
| 1 | Frame | custom | 100,00 € |
| 1 | Mirror | custom | 110,00 € |
| 1 | Screen | Samsung UE32J6250SU 32 Full HD Smart TV Wifi Black | 354,89 € |
| 1 | Mount | Hama Fix Ultraslim TV Wall Mount Medium Black | 14,99 € |
| 1 | RaspberryPi3 | Raspberry PI 3 Model B A1.2GHz 64-bit quad-core ARMv8 CPU, 1GB RAM | 37,93 € |
| 1 | RaspiCase | SB Components Raspberry Pi 3 Transparent Case | 6,49 € |
| 1 | Camera | Raspberry Pi camera module NoIR V2 | 36,90 € |
| 1 | Power Supply | Rydges EU 5V 3A Micro USB Power Supply | 9,99 € |
| 1 | Short HDMI cable | 0,2m SunshineTronic High Speed HDMI cable with ethernet | 6,90 € |
| 40 | Infrared LEDs | Infrared OSRAM LEDs SFH 485 | 15,00 € |
| 40 | LED reflector 5mm | Reflector 5mm | 21,21 € |
| 2 | Power socket | Euro8 | 9,50 € |
| 1 | Power cable white | Euro8 Maxima Trade Netzkabel | 8,90 € |
| 1 | Wires, Screws, woodbars | several | 5,00 € |
| Total | 737,70 |
How long did it take?
It’s hard to say how much time I had spent only on the hardware. I started to dive in the code very early. Maybe 60 to 80 hours including researches regarding the setup and hardware.
What did I learn?
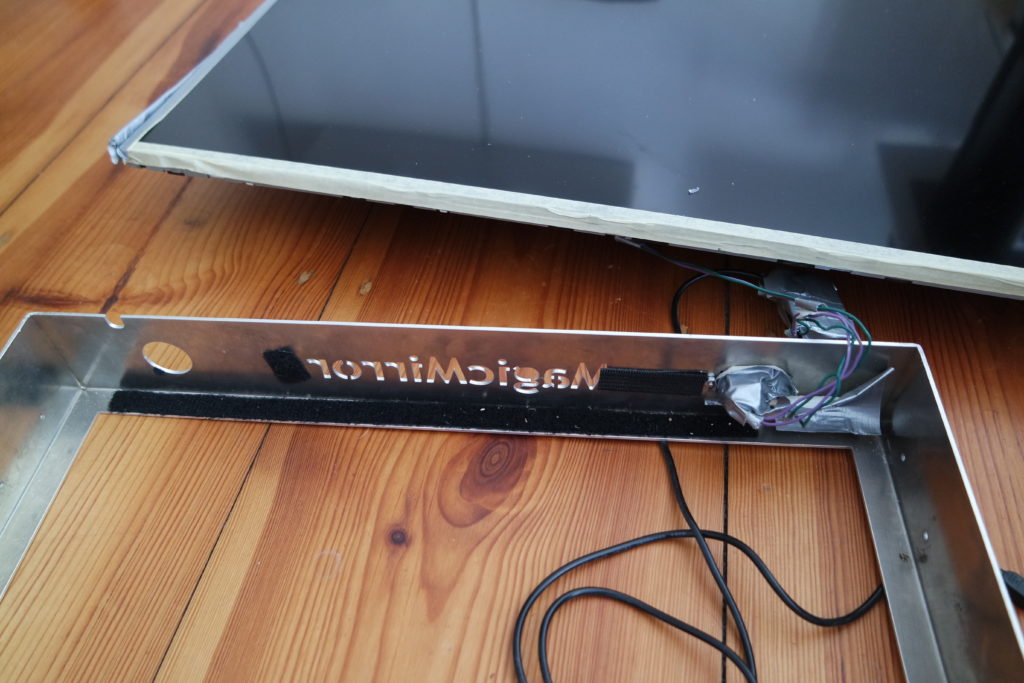
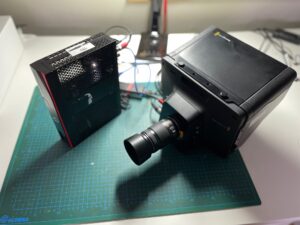
As already told I underestimated the price. But the real challenge in this project was to improve the pictures made with the camera, behind the mirror glass.
Several prototypes of the IR spotlights where built, I had to spend several hours of adjusting parameters and retaking sample pictures for the face recognition module to get it work properly.
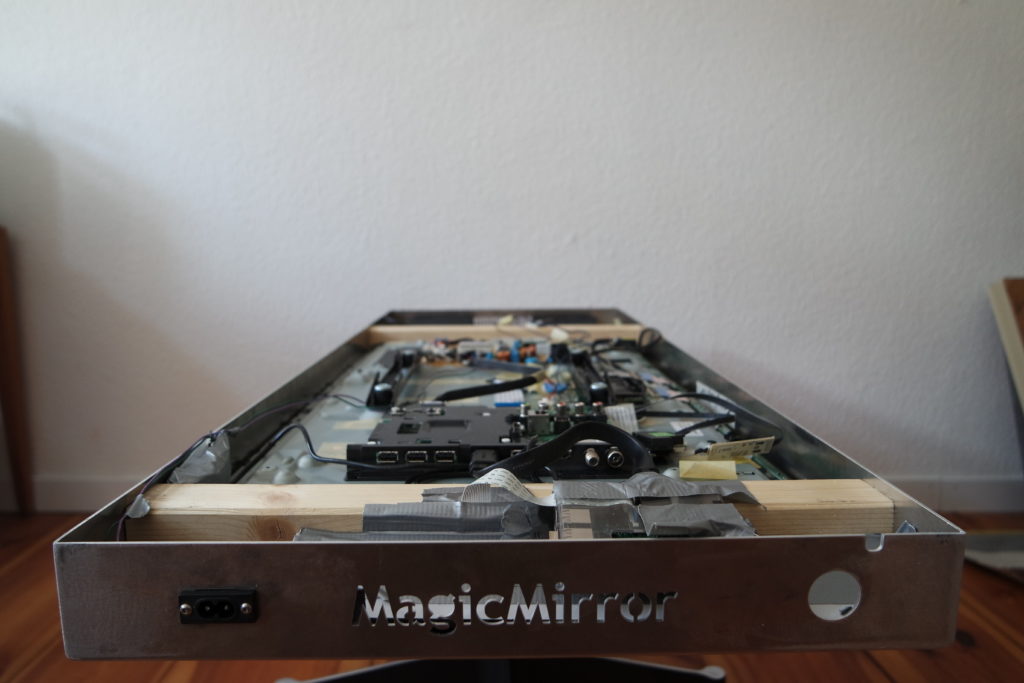
After a few month, the number and of modules I’d like use on the mirror started raised. So did the requirements on CPU and memory resources. It turned out the Raspberry Pi 3 quickly reaches its limits, when using modules for face or speech recognition or when displaying a rotating globe. So right now, I’m already thinking about how to rebuild the inner parts to get a board with more power.
What’s next?
The possibilities of the Magic Mirror are immense. Now I have this cool piece of data provider right in my hall it’s time to make this a impressive info board. Therefore several modules are easily to add to the open source software framework. Several developers made some amazing software. So did I.
If you’re interested, check out my developed modules for the Magic Mirror.

I love looking through your blog site. It was fairly fascinating. 🙂